Hint: at the time of writing this (December 2021), 7.0 was the lastest version. You might also want to just try `gem install rails --no-doc` and install the latest version.
This guide is aimed at programming beginners who want to work with Ruby and Rails. If you’re a power user, skip to the end for the TL;DR section.
It assumes you’re on Windows 10 and have nothing pre-installed to work with Ruby and/or Rails, so this guide starts from scratch.
Preparation
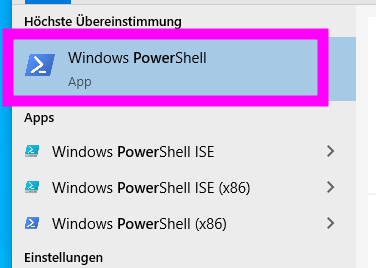
Go to the start menu and open Windows PowerShell. It could also say (x86) at the end, but be sure not to select the ISE entry.
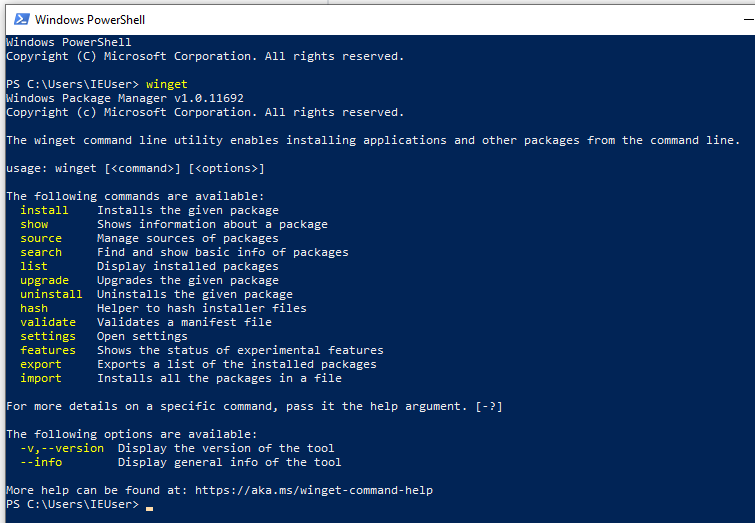
Now we check whether the winget package manager is already installed. For this, type winget into the PowerShell windows and hit Enter:

This probably looks like the image above. It prints out red text that tells you that winget is not installed, so let’s install that first.
Type in:
exit
and hit Enter to close the PowerShell window now. If it does not show red text, but instead information about winget, then winget is already installed. In that case you can skip the installation and go directly installing packages.
Install winget
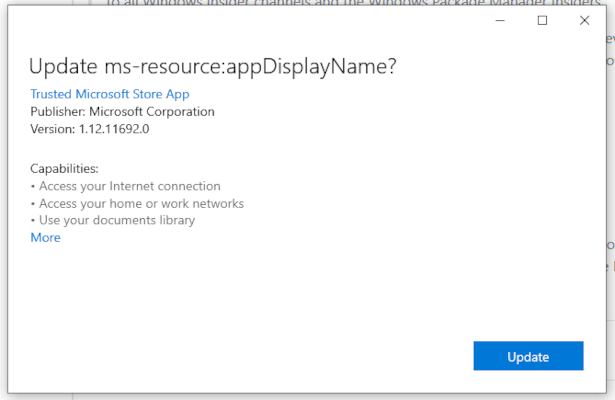
To install winget, we have to go to the pre-installed Microsoft Store.
There we need to install the App Installer by Microsoft.
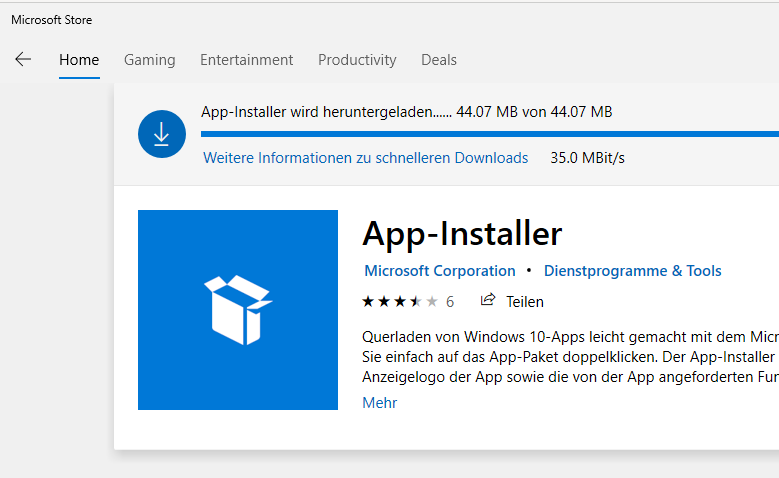
By clicking the link, you should see a website that allows you to install the App Installer directly in the Microsoft Store. If it is already installed, make sure that you install the latest update before you continue.
Close the previous PowerShell window if it is still open.
Installing the packages
Since you closed the previous PowerShell window, open a new window via the start menu.
Now enter the winget command and hit Enter. You should see the following output:
This means winget was installed successfully. We’re now going to install the first bunch of packages, namely NodeJS, Yarn, Git, Ruby.
Copy and paste the following into PowerShell and hit Enter:
winget install OpenJS.NodeJS.LTS; winget install Yarn.Yarn; winget install Git.Git; `
  winget install RubyInstallerTeam.RubyWithDevKit
You might get asked to accept the “msstore” source, which is the default Microsoft installation source. Type in “Y” and hit enter.
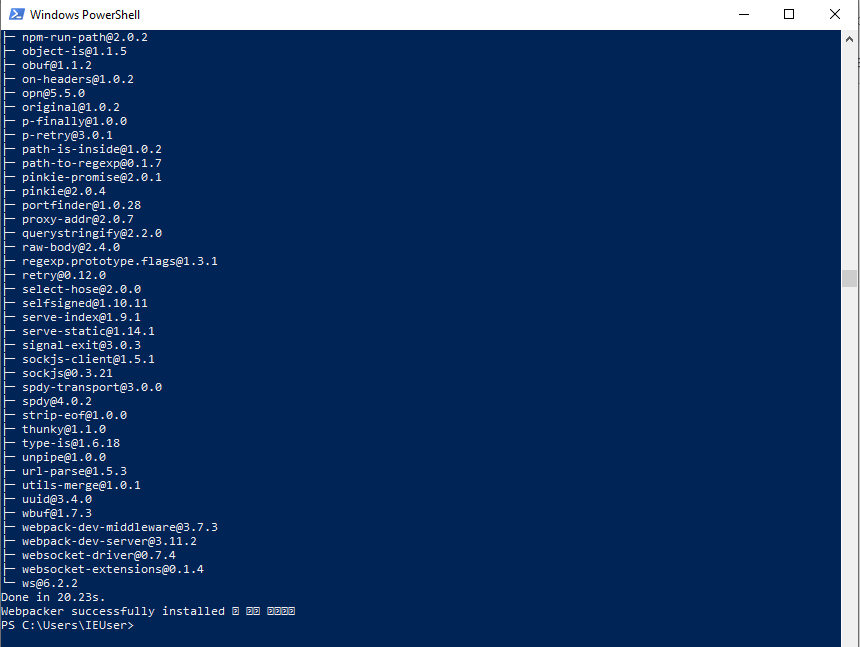
This will take a few minutes to install the packages. Small installation windows will pop up during this process and you’ll be asked to allow the installation of these packages like with any other installation. At the end it should look like this:

Now type in exit (followed by Enter) to close the PowerShell window and re-open it again. Then enter the commands you see below:
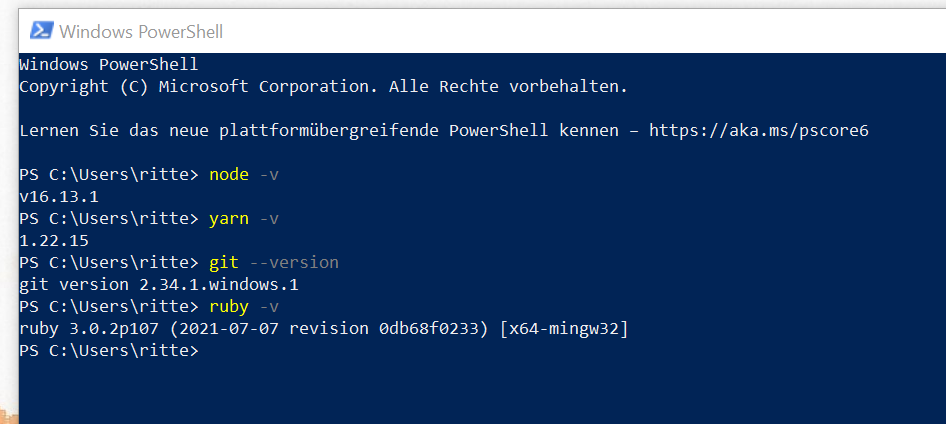
All four commands should print out a version similar to the one seen here.
Installing Ruby development tools
Now type in exit (followed by Enter) to close the PowerShell window, as we have done before.
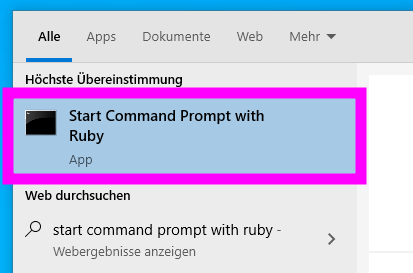
Now go to the Start menu and choose the “Start Command Prompt with Ruby”:
Enter this and hint enter:
ridk install 3
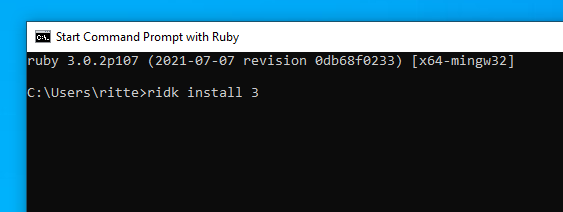
This will take a while and will show a lot of colorful output. At the end it should look like this:
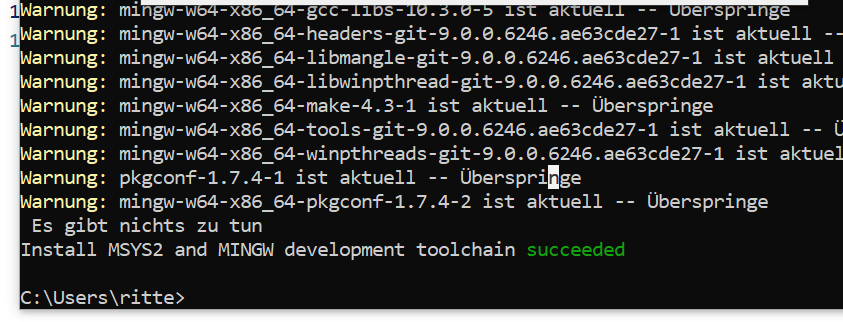
After the installation succeeded, we can type exit (followed by Enter) to close this window.
Installing Rails
In the file explorer, create a folder called “rails” in your home folder. You can also give it a different name, but we will use “rails” here.
Now open a PowerShell window again, then enter cd (the space afterwards is important!), drag the “rails” folder into the PowerShell window, drop it and then hit enter like this:
cd here stands for “change directory”, we told PowerShell to navigate to this directory.
Copy and paste this into PowerShell and hit Enter:
gem install sqlite3
This might take a minute, it will print out a few lines, at the end it should say “1 gem installed”.
gem install rails --version "~> 7.0" --no-doc
This will produce a lot of output and install all of the rails dependencies. The second to last line should be “Successfully installed rails” including the Rails version number.
After that, enter:
rails new myapp
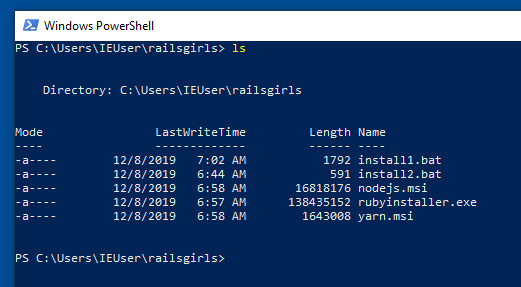
This also takes a few minutes, most probably longer than installing the packages. At the end, it should look like this:
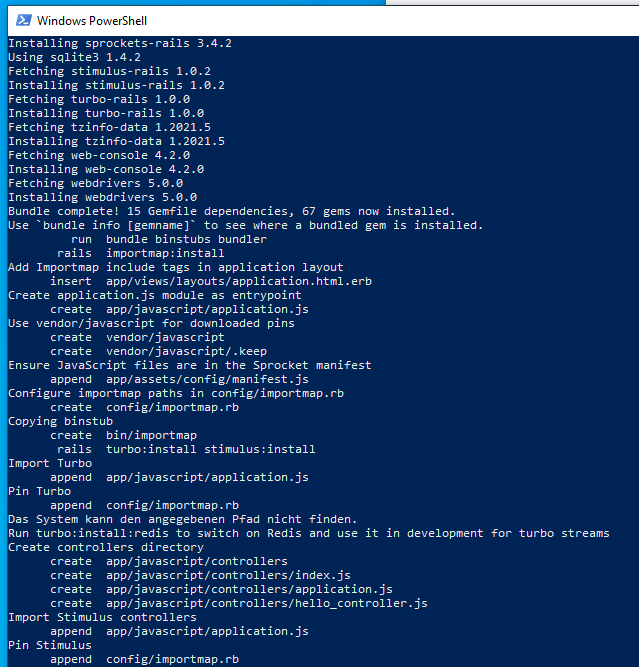
If you see this, Rails has been successfully installed. We also created a small Rails application called myapp.
Starting the Rails server
You can now change to this app and start the Rails server:
cd myapp
followed by:
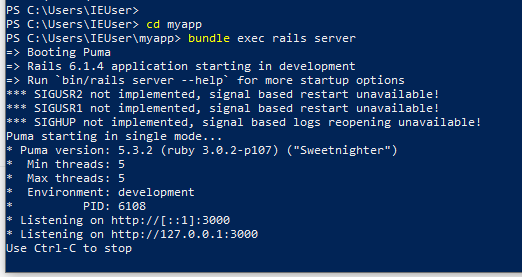
bundle exec rails server
You should copy and paste both commands and hit Enter for both.
It should now look like this:

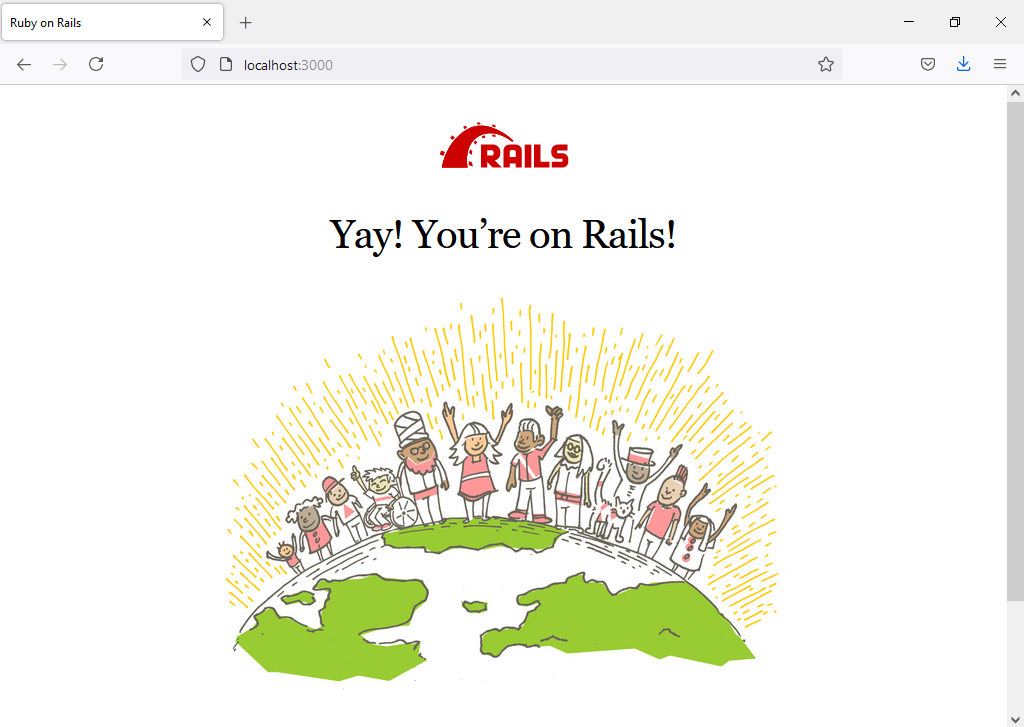
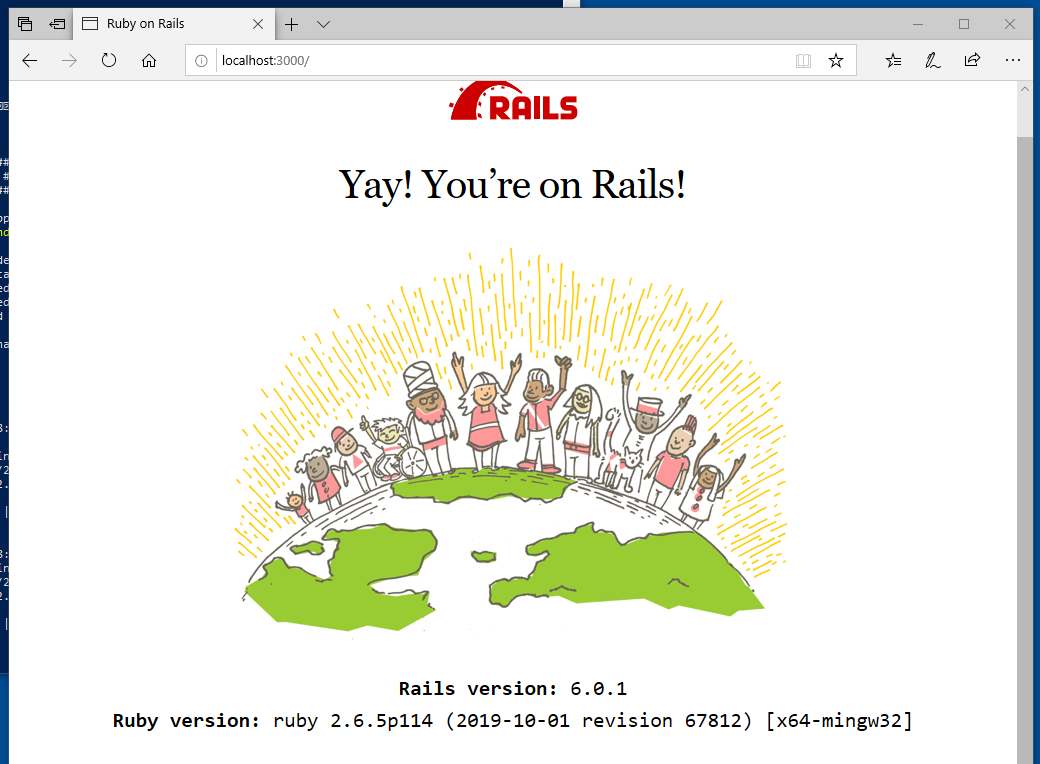
This means the Rails server was started successfully. You can follow the instructions and open your Rails app in the browser by going to http://localhost:3000. You should see this:
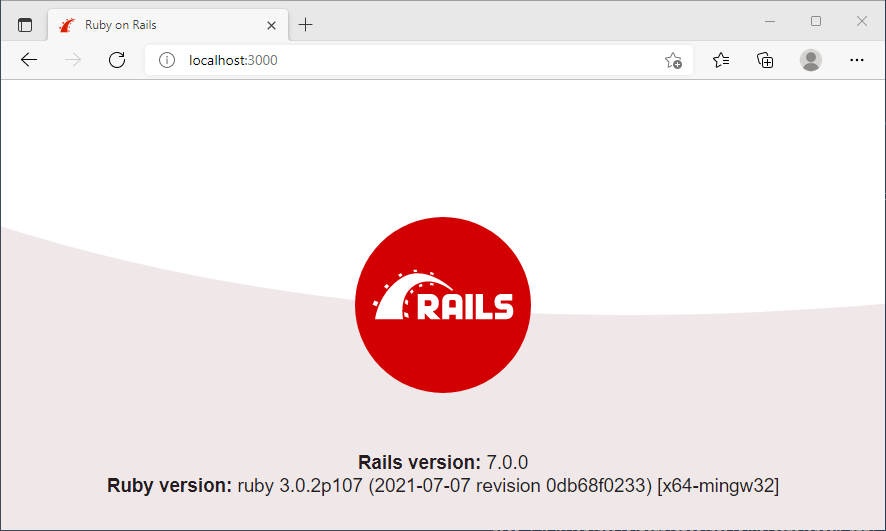
Congratulations! You successfully installed Rails and created your first app.
Bonus level: installing an editor
To comfortably work with your Rails project, I recommend to install an editor. A popular editor is VS Code. You can install it via PowerShell:
winget install Microsoft.VisualStudioCode
After this, close and re-open the PowerShell window, navigate again to your rails folder, then to your myapp folder like we did in “Starting the Rails server”, then enter:
code .
Now VS Code starts and opens your myapp project. You’re now ready to work on your app.
Closing words
I hope this guide was helpful to you. Reach out via Twitter if you liked it and/or if you had any issues with it. Feel free to share it. Cheers!
TL;DR
For power users, the short summary:
- Check whether
wingetis installed, if not install or update App Installer from the Microsoft Store from here - Open PowerShell and enter:
winget install OpenJS.NodeJS.LTS; winget install Yarn.Yarn; winget install Git.Git; winget install RubyInstallerTeam.RubyWithDevKit - Close Powershell, open “Start Command Prompt with Ruby”, enter:
ridk install 3 - Close prompt, open a PowerShell, enter:
gem install sqlite3; gem install rails --version "~> 7.0" --no-doc; rails new myapp - A new app called myapp has been created, start the Rails server:
cd myapp; bundle exec rails server - Open your app: http://localhost:3000